Tuesday, June 10, 2014

Mine Run Candy aka Honeycomb Candy

My mom showed me a recipe for this mine run candy which is a honeycomb candy like a violet crumble. Seeing it ripped from a magazine suggested to me that she tore it from a waiting room magazine, but I would probably do that too if I had seen it. The actual recipe can be found here: http://www.tasteofhome.com/recipes/mine-run-candy


This is how the candy looks when it is poured out. I regret not getting a picture of it before, but a really neat reaction occurs when you add the baking soda and it starts puffing up like an awesome chemistry experiment. Without even trying it, that reaction made me want to make this again. Just a word of warning if you've never made any candy before: be careful, because you're getting sugar up to 300F and that stuff will hurt really bad to be careful not to touch it until it cools.


The hardest part is to break the large candy into smaller pieces. With all the air pockets, it is really easy to crumble.


As you can see, I had a lot of crumbs.


Then you dip those bad boys in chocolate. I recommend having extra chocolate, because I ran out.


Once dipped they need to dry and have the chocolate harden. Putting them in the fridge helps this process along.
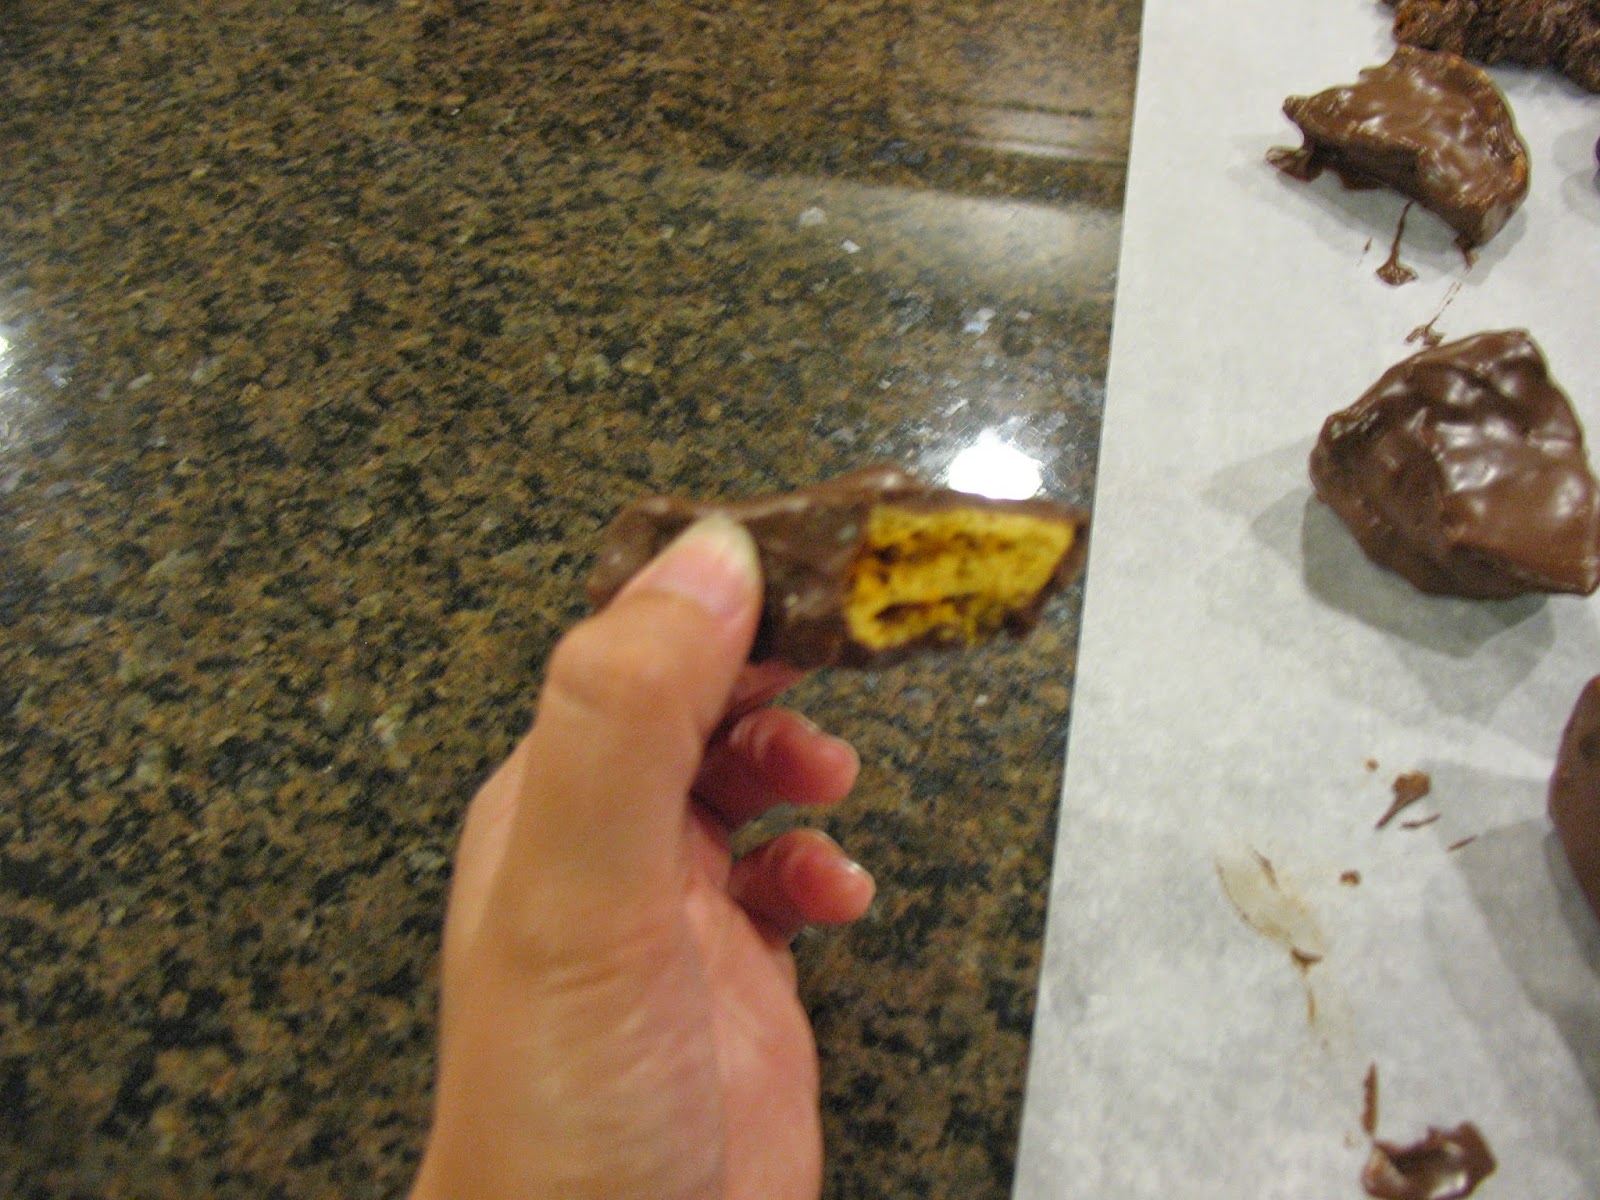

Then, when they are all ready, you can take a bite into one and fall in love with this recipe. It takes great especially if you are a fan of honeycomb candy like I am. This is a really simple recipe to make and really tasty.

Giada's Strawberry Meringue Clouds

My mom was watching the food network and saw an episode of Giada De Laurentiis where she made strawberry meringue clouds. What caught my mom's attention was that she put freeze-dried strawberries into the meringue. You normally can't add anything wet like fresh fruit to a meringue, because they have to be bone dry for them to set correctly. My mom printed off the recipe and told me to give them a try and I did. The recipe can be found here: http://www.foodnetwork.com/recipes/giada-de-laurentiis/strawberry-meringue-clouds-recipe.html


The strawberries had to be cut up into smaller pieces.


You just make a basic meringue and get it to the shiny stiff peak stage.


Then I added the strawberries,


a bit of lemon zest, and then folded those into the meringue.


They have to bake forever, so keep that in mind before you start.


Here's how they came out.


The strawberries gave it a unique flavor and twist to a traditional meringue. I'd like to try these again, but mix it up with different dried fruits now that I know that it can be done.

Thursday, May 29, 2014

Duncan Hines Decadent Strawberry Cheesecake Cupcakes

While I was in the grocery store, I ran across Duncan Hines Decadent cupcake mixes and decided to try one out. I went with the strawberry cheesecake flavor:


Inside the box is a cake mix, a frosting mix, and a piping bag.


It only makes twelve cupcakes, so it's easy to divide the batter and make each one even. Also, when you mix up the cake mix, you can see tiny bits of dehydrated strawberries, which I thought was an unique touch.


Look at how evenly those baked. I usually have tiny ones and monster ones, but they are all mostly the same size.


I didn't realize how blurry this next one was, but the frosting is easy to make up and has a cream cheese flavor. The plastic is strong enough to insert frosting into the cupcakes like it says to do in the instructions.


Then, once you have put frosting inside the cupcakes, you can make a fancy design on top if you want. I went with the classic swirl look.


Here's what it looks like when you take a bite. The frosting inside the cupcake keeps it moister than Ducan Hines already moist cake. You can't taste strawberry chunks from the dehydrated strawberry pieces since they are rehydrated and so small that they don't add texture, just flavor. 


I didn't get a cheesecake vibe from it, more of a strawberry cupcake with cream cheese frosting taste. I think this would be an great and easy idea for a jazzed up dessert for a small get together. Or, you can do what I did and eat all of them by yourself over the course of two days. Those were a good two days.

Thursday, December 26, 2013

Christmas Tree Ornament Cupcakes

My mom told me that there was going to be a bake sale at the hospital that she volunteers at, so I took it as an opportunity to try out a holiday themed cupcake design. I went to my go to cupcake decorating design "Hello Cupcake" and went to the holiday section. They had a design for Christmas tree ornaments that are easy to make a large quantity of unique cupcakes. I ended up making four dozen cupcakes.


The cupcakes, although made the same, came out differently because I have problems keeping my oven at a constant temperature.


I made one dozen all red to look like the top of an ornament.


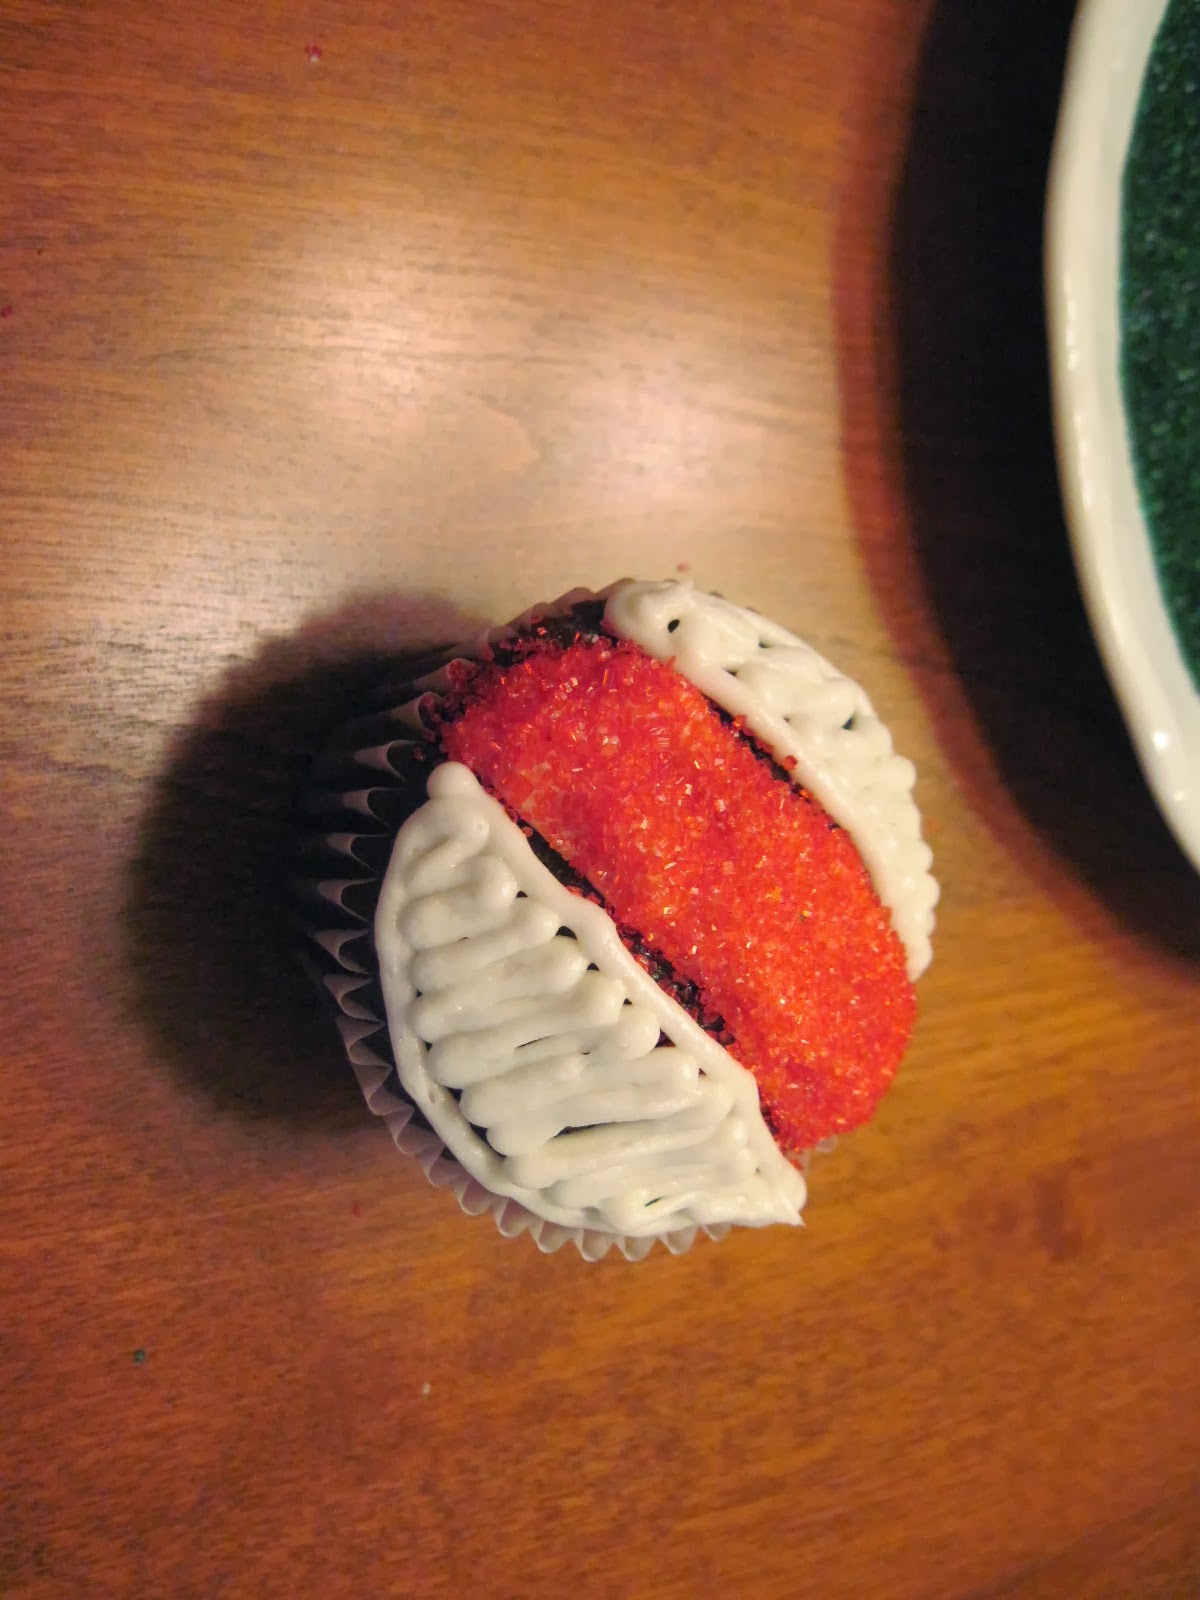
For one dozen I made a red stripe. I piped frosting on just where I wanted the red to go and dipped them in sprinkles.


Then I pipped on icing onto the rest of the cupcake and dipped it in the green sprinkles.


This gave a nice side view to the ornament.


Next I made the top of the ornament that is used to hang it onto the tree. I started by putting a spice drop onto a pretzel stick. This requires patience, practice, and the ability to cope with sticky fingers.


A Twizzler was added to the top to complete the hanger.


In addition to the green with red stripe, I made red with green strip cupcakes.


To jazz them up a bit more, I added cinnamon candies.


I loaded them up into trays to give a mixture of top views, side views, red, and green.


Then they headed off to the bake sale where I hope they added some holiday joy.

Monday, December 9, 2013

Nestle Mint Chocolate Delights

I was at the store with my Mom and we ran across the limited edition Dark Chocolate and Mint Morsels by Nestle Toll House. It was just a matter of saying "Hey Mom, check these out" and getting a response of "Put them in the cart." I decided to make the Mint Chocolate Delight recipe on the back of the package. It's like their normal chocolate chip recipe, except there is cocoa powder in the batter and the chocolate chips are a combination of dark chocolate chips and mint flavored chips.


I started baking them off and remembered why I have a love/hate relationship with chocolate cookies. The love part is simply that I love chocolate cookies. The hate part is that they are more difficult to tell when they are done cooking since you can't look for the golden brown color that you get with normal chocolate chip cookies. This is compounded for me by the fact that my oven is very temperamental and does not always have the correct temperature, so cooking time is always a game of guess and check for me.


With all of that being said, the only problem I had was with the smaller bite sized cookies. The package indicated that bite sized cookies could be made and I gave them a shot. However, they came out a little bit burnt on the bottom, because my oven doesn't like me. The normal sized ones, on the other hand, came out perfectly and taste like a thin mint cookie disguised as a chocolate chip cookie. I will definitely be looking for these chips again.


Monday, October 14, 2013

Pillsbury Funfetti Cake Pop Kit

My mom got me another Pillsbury Pop Kit, but this time it was cake.  It is similar to make as the brownie one that I did before.


So it starts off like you're making any other cake. 


And then things get fun. You have to tear apart this cake until it is just a bunch of crumbs. It's hard to put into words how satisfying it is to destroy a cake into tiny pieces, but it is AMAZING!


Here it is crumbled into submission.


Then you add some frosting to act as glue to hold this all together.


Then you make twelve equal balls of cake.  I always have trouble making them equal sized, but it really doesn't matter. All they really need is to stick together well, so press those puppies together well. This is also the part where you want to make sure your hands are all clean before starting so you can use the phrase that my family enjoys using in these situations: "Untouched by human hands"


This is the same as the brownie mix I made. You add chocolate to the sticks and put them in the fridge to cool down which helps them stay together when you add the melted chocolate on top.


I'm not sure why, but I had more problems with the white chocolate being sticky and clumping instead of being smooth.  I worked though it and got them covered and sprinkled.  As you can see, I did have one fall apart on me when I was putting chocolate on it, but it easily became the first taste test.


Here's how mine came out.  Compared to the brownie pop kit, I thought these weren't quite as good.  Part of this is that the cake is harder to hold together than the brownies were. The other reason is that if you give me an option of chocolate vs any other flavor of cake, I always choose chocolate.  That being said, I would be interested in trying a cake kit in chocolate cake.

Friday, October 4, 2013

Jam pocket cookies

I saw these cookies online and thought they looked delicious.  The original is made to be in a Halloween style like a vampire bite which is a really neat idea.  For full instructions, I recommend looking at the original here:

http://bakingbites.com/2008/10/vampire-cookies/

Here's how mine came out:

 Adding the jam

 Putting on the top

 Fresh out of the oven

Yum! They taste like a pie in the form of a cookie.  Does that even make sense?  You'll like these if you're into jam thumbprint cookies or jammie dodgers or that sort of thing.  You could even change the filling for something else like Nutella for a different flavor.